
Without sufficient data on how time is spent — aka time tracking — it’s impossible to know where improvements can be made. Or even if current methods are effective!
This is especially true when working with a team; without accurate information on who is doing what (and when), it’s difficult to manage projects effectively.
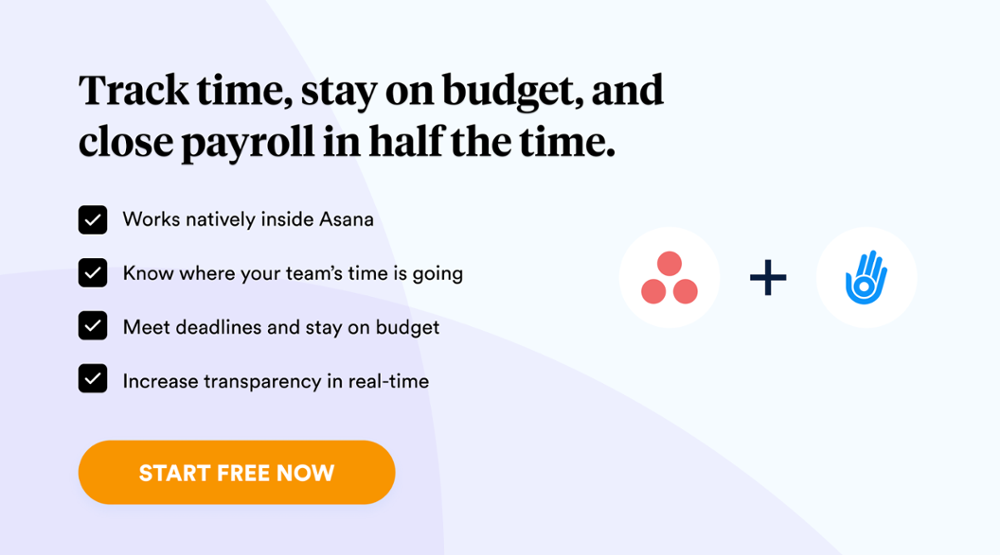
Asana is a project management tool that has become increasingly popular in recent years, and one of its key features is time tracking.
In this article, we’ll take a look at strategies for effective Asana Time Tracking in 2023. We’ll focus primarily on how Asana’s built-in time tracking works, the various time tracking integrations within Asana, and how you can make the most of Asana in your business.
Let’s get started!
Does Asana Have Time Tracking?
To keep it short and sweet, the answer is yes. Asana time tracking options are vast and there are many features offered by these various options that can make the process more efficient for your team.
How To Best Track Time in Asana
Asana’s time tracking is designed to be as simple and straightforward as possible. Despite this software’s notoriety in the project management world, it doesn’t offer time tracking through any other mediums other than integrations.
Luckily enough, integrations are perhaps the most efficient way to track time when working with project management applications, and especially with Asana.
They allow you to get started without even opening the app. There are a number of integrations available, including Day.io, Timely and Velocity to name but a few.
We believe integrations are objectively the best way to track time in Asana, as they allow you to stay organized and track time efficiently without disrupting your workflow. We’ll discuss these in a lot more detail later on in this article, so don’t worry about the lack of specificity so far!
Time Tracking Integration With Asana
Time tracking with integrations consists of a few general steps that apply to most of the time tracking integrations out there.
You need to firstly connect your time tracking application with Asana, and then select the workspace you want to track time in.
After that, you can start tracking time by selecting the task you’re working on and clicking the ‘Start Timer’ button. The timer will then start running in the background, and you can continue working on your task as usual.
When you’re finished with the task, simply click the ‘Stop Timer’ button, and the timer will stop. The duration of the task will then be recorded in your time tracking application, and you can add any additional details such as notes or tags.
This is the most basic outline of how Asana time tracking works with integrations. It is a simple yet effective process that can be extremely helpful, especially if you’re working on a large project with many tasks.
As for the time tracking apps available, there are many to choose from. These include the following:
- Timely
- Velocity
- PomoDone
- Outplanr
- Day.io
As for your integration of choice, the application you ultimately choose will depend on your preferences and needs.
Asana Time Tracking
When it comes to tracking time in Asana, each of the integrations we have mentioned have different capabilities. However they all have some general functions that work as follows:
Track time without opening Asana:
This is a feature that is unique to Asana time tracking integrations. It allows you to track time without even opening Asana.
So, if you’re working on a task you’ve put down in Asana, you can still keep an accurate record of the time spent on that task without having to leave your current work environment.
Efficient? Yes. Quick? Definitely. This is a great way to save those crucial 10-15 minutes every day – which can add up to many hours when calculated over weeks and months.
Start and stop timers with one click:
All of the integrations mentioned make it quick and easy to start and stop timers with just one click. This is important as it ensures that accurate data is captured without any manual input required.
Making time-tracking easy to perform also means your employees are more likely to actually track their time.
If you make the process too complicated, they are likely to bypass the whole time-tracking process and do their own thing. By making it easy, it’s more likely to be done.
Track time across multiple devices:
With most integrations, if you’re using the desktop app you can still track time on your mobile device using the relevant app for the time tracking software.
This is useful if you need to step away from your desk for a meeting or to make a phone call, for example. You can simply start the timer on your mobile device and then stop it when you return to your desk.
Generate detailed reports:
All of the integrations allow you to generate detailed reports on the time spent on tasks. This is useful for analyzing where time is being spent, and for identifying areas where improvements can be made.
Reporting is a key part of time tracking. After all, what’s the use of tracking all this data if you don’t come up with an effective way to collate it and learn from the results.
How To Use Day.io Timesheets in Asana
Asana time tracking using Day.io is efficient, accurate, and offers a number of unique benefits compared to other Asana time tracking integrations.
It consists of the following steps:
- Add the Day.io extension to your chosen browser.
- Track your time spent on tasks using the Day.io app.
- The app automatically syncs with Asana, so you don’t need to do anything else.
- View detailed reports on how much time was spent on each task, who worked on it, and when.
It’s a great way to get started with tracking time in Asana, and the reports can be very helpful in identifying areas where your team may need to make improvements.
But what makes Day.io unique?
Day.io is one the premier time Asana time tracking integrations and has been an industry leader in the time tracking niche for businesses of all sizes.
Its conception in 2014 was followed by excellent reviews and it currently services as the time tracking application of choice for more than 300,000 employees worldwide.
Pricing
Its time tracking scheme starts at only $5 per employee/month and offers real time reports, time off management, a chat function, and even allows you to see who’s working.
It can prove frustrating to pay for something you aren’t using, hence why you only need to pay for the employees that actually use the app.
Anti-fraud measures
It’s more than common nowadays to see time fraud and time theft occurring.
This means that a lot of businesses are struggling with employees not being honest about the time they’re working.
Day.io has some great features to prevent this from happening, including:
- Advanced anti-fraud capabilities consisting of a team of experts tracking discrepancies.
- Four different verification measures in place: date and time, GPS data, Face ID, SIM card verification.
- All measures functioning online and offline.
Time tracking add-ons
Day.io is no ordinary application. It also includes a number of advanced time tracking add-ons that can’t be found elsewhere. These include:
- Customizable leave requests meaning employees can request, customize and have their leave approved within the app.
- Customizable notifications means no one has an excuse for forgetting to clock in and out. Gone are the days of sending out email reminders!
- Employees can also schedule and take breaks in real-time. A handy notes feature also allows them to clarify why they’re taking the break.
How To Track Time in Asana With Day.io
Time tracking best practices are important to consider, and we will do exactly that with Asana. Asana time tracking with Day.io is simple and effective.
No longer will you have to:
- Use a separate time tracking tool.
- Enter data manually.
- Miss out on valuable insights that come from having all your data in one place.
With Day.io, simply start the timer when you begin working on a task in Asana, and stop it when you’re done. Your total time worked will be logged automatically, and you can see detailed reports on how you’ve been spending your time across all your projects.
The first step is to sign up for a Day.io account where you’ll be able to manage operations effectively. Your account is your home for all things time tracking related.
Once you’ve got this sorted, download the Day.io extension to get started with using it in Asana.
Tracking time on tasks through the “Start timer” button
When working within Asana’s Board layout, head to the Board tab and click on the Day.io timer button on the top left corner of each particular card.
This will get the clock ticking. With only one tap of your mouse, you’re tracking time within Asana using the Day.io integration. It doesn’t get much easier than that.
If using Asana’s List layout to get your work done, go to the List tab and once again click on the Day.io timer button on the specific card you’re working on for the time being.
The same applies to tasks you click on your calendar, your tasks section, and any other case where a card opens up.
All it takes is one click on the ‘Start Timer’ button, and you’re well on your way to tracking time for that particular task. Day.io will take the name of the Asana task to describe your time entry and log it within the application itself.
The beauty of integrations is how simple it is to use within the app. If using Day.io without the integration, this process would be a little bit longer due to the hassle of opening up a separate application. But due to the integration it has with Asana, it really is as simple as one click.
Once you’ve completed a particular task, click on the ‘Stop’ button and the clock will stop ticking. Day.io will take the time you’ve spent and assign it to that particular task which has been automatically logged in the Day.io software.
Tracking time on a sub-task through the “Start timer” button
When it comes to tracking sub-tasks, the process is just as simple as when you’re tracking time for tasks.
After the sub-task has been created, click ‘Sub-tasks notes and comments’.
You’ll find a familiar looking ‘Start Timer’ button which you can use to start tracking time for that particular sub-task. Day.io will take the name of the sub-task and use that to describe the activity for which the time is tracked against.
Once the sub-task has been completed, you can click ‘Stop’ to bring an end to the time tracking.
Managing the time tracked in Asana with Day.io
Asana time tracking with Day.io is a walk in the park. Once you’ve tracked your time within Asana as described above, you can head to your Day.io web account to see the results of all that hard work.
In your Day.io web account, you’ll be able to:
- Remove duplicate entries.
- Remove faulty time entries.
- Edit descriptions of the task you tracked time for.
- Keep track of the time spent on each particular project.
- Generate custom reports for a specific time period.
- Save these reports and export them to various formats.
5 Benefits of Time Tracking for Businesses
Why even track time in the first place? Isn’t it just – forgive the pun – a waste of time?
However this couldn’t be further from the truth. Here are 5 benefits that businesses can reap from tracking employee time:
-
Improved accuracy of billing
This is especially important for businesses that bill hourly. If you’re not tracking employee time, there’s no way to know how much time was actually spent on a project. This can lead to under-billing or even over-billing clients, which can damage relationships.
-
More efficient budgeting
Time tracking can help businesses allocate their budgets more efficiently and hence save them money. By knowing how employees are spending their time, you can identify areas where money is being wasted and make adjustments accordingly.
-
Better project management
It’s difficult to manage projects effectively without knowing how much time is being spent on each task. Time tracking can help managers get a better understanding of where employees are spending their time, and make necessary changes to keep projects on track.
-
Increased employee productivity
By tracking employee time, businesses can identify areas where employees are wasting time or not working as efficiently as they could be. This information can be used to make improvements and increase productivity.
-
Improved employee morale
Employee morale can be improved by ensuring that employees are being used effectively and not wasting time. Time tracking can help identify areas where employees may feel their time is being wasted, and make changes accordingly.
Final Thoughts
Asana time tracking is great, if you know what you’re doing. Hopefully this article has given you a better insight into exactly how you can track time using Asana, with a particular focus on how you can use time tracking integrations effectively.
We’ve talked through Day.io and the multitude of benefits it brings to the table, so that may be something to consider if you’re thinking of using Asana for time tracking in the near future.
Whatever it may be, best of luck with your time-tracking journey. We wish you an efficient and productive day ahead!